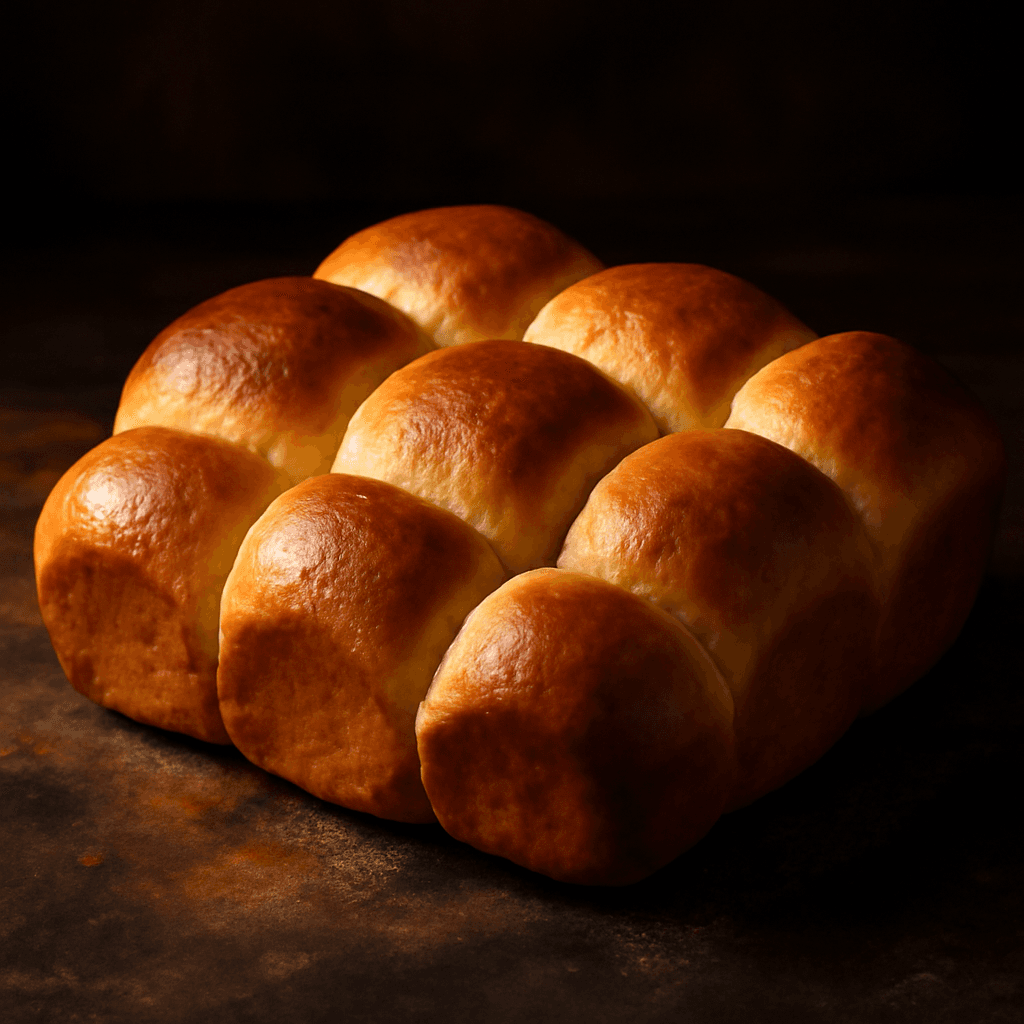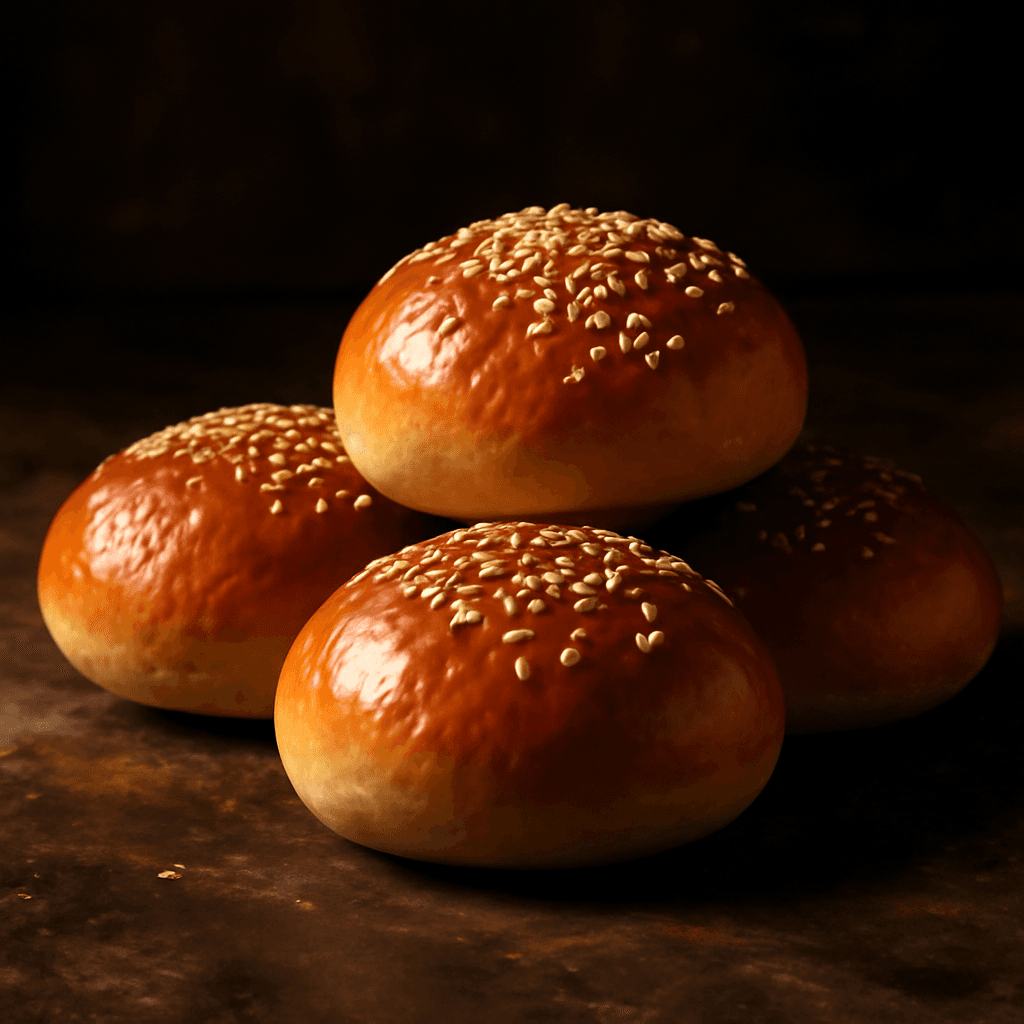
Homemade Hamburger Buns - freshly baked bread

Homemade Hamburger Buns

Dinner Rolls & Buns

Soft, golden hamburger buns with a hint of sweetness. So much better than store-bought.

Prep Time

20 min

Proof Time

1h 15m

Bake Time

15 min

Servings

12

Calories

195

Ingredients

  • 2¾ cups all-purpose flour
  • 2¼ tsp instant yeast
  • ¾ cup warm milk
  • ¼ cup unsalted butter, melted
  • 2 tbsp sugar
  • 1 tsp salt
  • 1 large egg

Instructions

  1. 1

    Mix

    Combine flour, yeast, sugar, and salt. Add warm milk, melted butter, and egg.

  2. 2

    Knead

    Knead 6–8 minutes until smooth and elastic.

  3. 3

    First Rise

    Cover and rise 45 minutes until doubled.

  4. 4

    Shape

    Divide into equal pieces and shape as directed.

  5. 5

    Second Rise

    Cover and rise 20–25 minutes until puffy.

  6. 6

    Bake

    Brush with egg wash. Bake at 375°F (190°C) for 18–20 minutes until golden. Brush with butter.

Baker's Notes

The secret to incredibly soft dinner rolls is enrichment — butter, milk, and egg create a tender crumb that stays soft for days.

Baker Thomas Moreau

About This Recipe

There's something about pulling freshly baked hamburger buns from the oven that makes a weeknight dinner feel like a weekend project worth doing. These buns get their soft, pillowy crumb from warm milk and melted butter folded into the dough, while a touch of sugar gives them just enough sweetness to complement any burger topping. The two-rise method is what sets them apart — the first rise develops flavour, and the second gives them that cloud-like lift.

Canadian home cooks swear by these because they freeze so well and reheat almost as well as fresh. You'll find yourself making a batch every few weeks, whether it's for summer burgers on the patio or winter roast beef sandwiches. They're the kind of thing that makes people ask for the recipe and then never buy store-bought again.

Tips for the Best Homemade Hamburger Buns

The secret to proper hamburger buns is shaping them slightly wider and flatter than you'd expect — they puff up noticeably in the oven. Don't skip the second rise; these buns need that full 20 to 25 minutes to get properly puffy before baking. Brush with melted butter right away after they come out of the oven for the softest crust possible.

What to Serve With It

Classic beef patties with cheddar and pickles are the obvious choice, but these buns shine just as well with pulled pork, chicken sandwiches, or even a simple peanut butter and banana spread. Serve them alongside a bowl of potato soup on a cold evening, or stack up sliders for game day. They're equally at home at a backyard BBQ or a quiet Sunday supper.

Storage & Reheating

Keep leftover buns in an airtight container or resealable bag at room temperature for up to three days. For longer storage, freeze them whole — they'll keep for up to three months. To reheat, wrap them in foil and warm at 300°F (150°C) for about five minutes. If you're in a hurry, a quick toast in the toaster works beautifully too.
Nutrition Facts

195

cal

6g

Protein

5g

Fat

33g

Carbs

3g

Fiber

301mg

Sodium

Frequently Asked Questions

Can I use active dry yeast instead of instant?+

Yes — dissolve the active dry yeast in the warm milk first, then proceed with the recipe. You may need a few extra minutes for the first rise since active dry yeast takes slightly longer to activate.

How do I know when the buns are fully baked?+

They should be deep golden brown on top and sound hollow when tapped on the bottom. An internal temperature of 190°F (88°C) confirms they're done. If they're browning too fast, tent loosely with foil.

My dough didn't double in size. What went wrong?+

Check that your milk wasn't too hot — anything above 110°F (43°C) can kill the yeast. Cold kitchens slow fermentation too, so give the dough extra time or move it to a warmer spot like near the oven.

Can I make these ahead and bake later?+

Shape the buns, let them go through their second rise, then cover and refrigerate overnight. Bring them to room temperature for 30 minutes before baking. This actually improves flavour and makes shaping easier.

How long do these freeze for?+

Up to three months in a freezer-safe bag with as much air pressed out as possible. Thaw at room temperature, then warm in the oven or toaster before serving. They taste nearly as good as fresh.

Tips & Tricks

  • Brush with butter immediately after baking for the softest crust.
  • These reheat beautifully wrapped in foil at 300°F for 5 minutes.
  • Freeze extras for up to 3 months — thaw and warm before serving.

Reviews (5)

Jennifer K.★★★★★

This is now our go-to bread recipe. The house smelled incredible while it was baking. My kids couldn't wait to tear into a warm slice.

André G.★★★★★

Just like from the bakery! The crust is crispy and the crumb is soft. Bravo for this extraordinary recipe.

Chantal D.★★★★★

Easy to prepare and so delicious! Even my picky kids went for seconds. This bread has become a staple in our home.

Pierre T.★★★★★

Excellent recipe. I followed the instructions to the letter and the result was perfect. My wife loved it. The best homemade bread I've made.

Marie L.★★★★★

Made this last weekend and my family loved it! The bread came out perfectly golden with a beautiful crust. Will definitely be making this again.