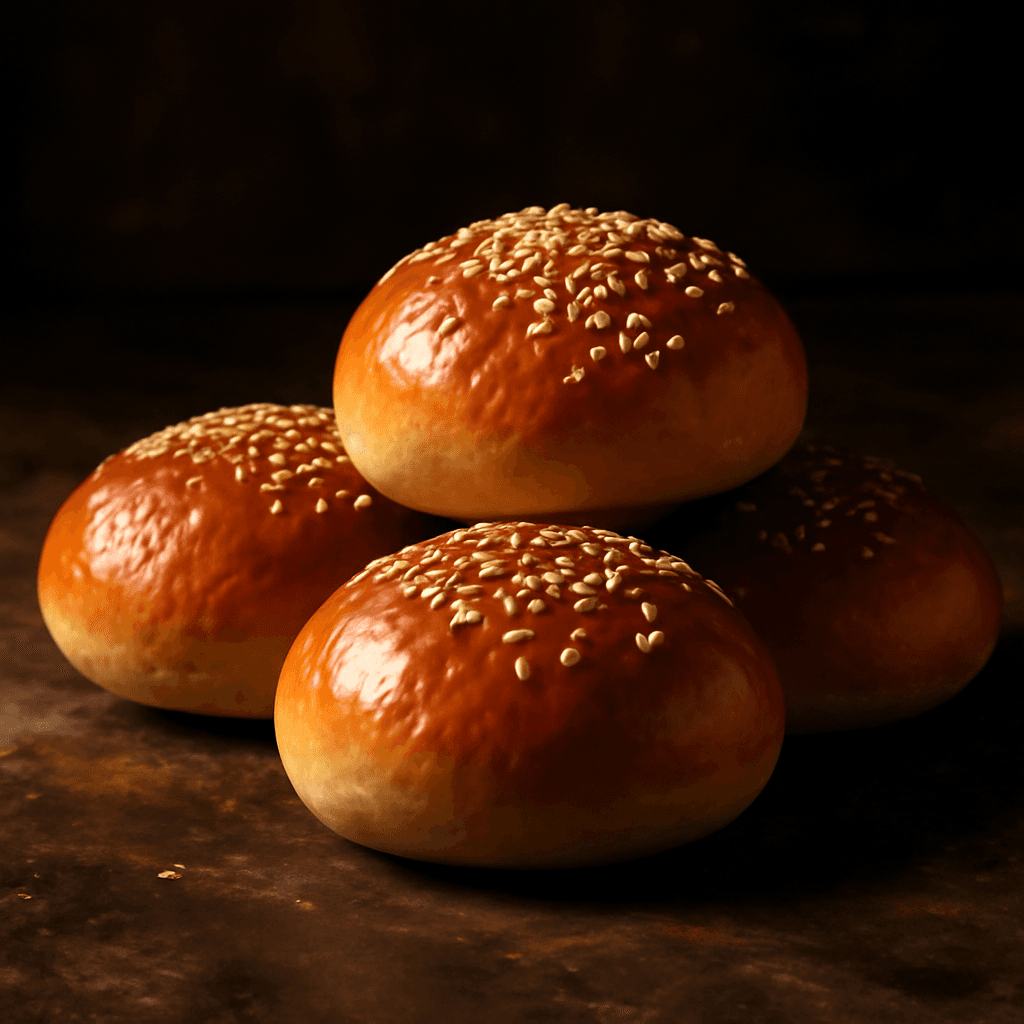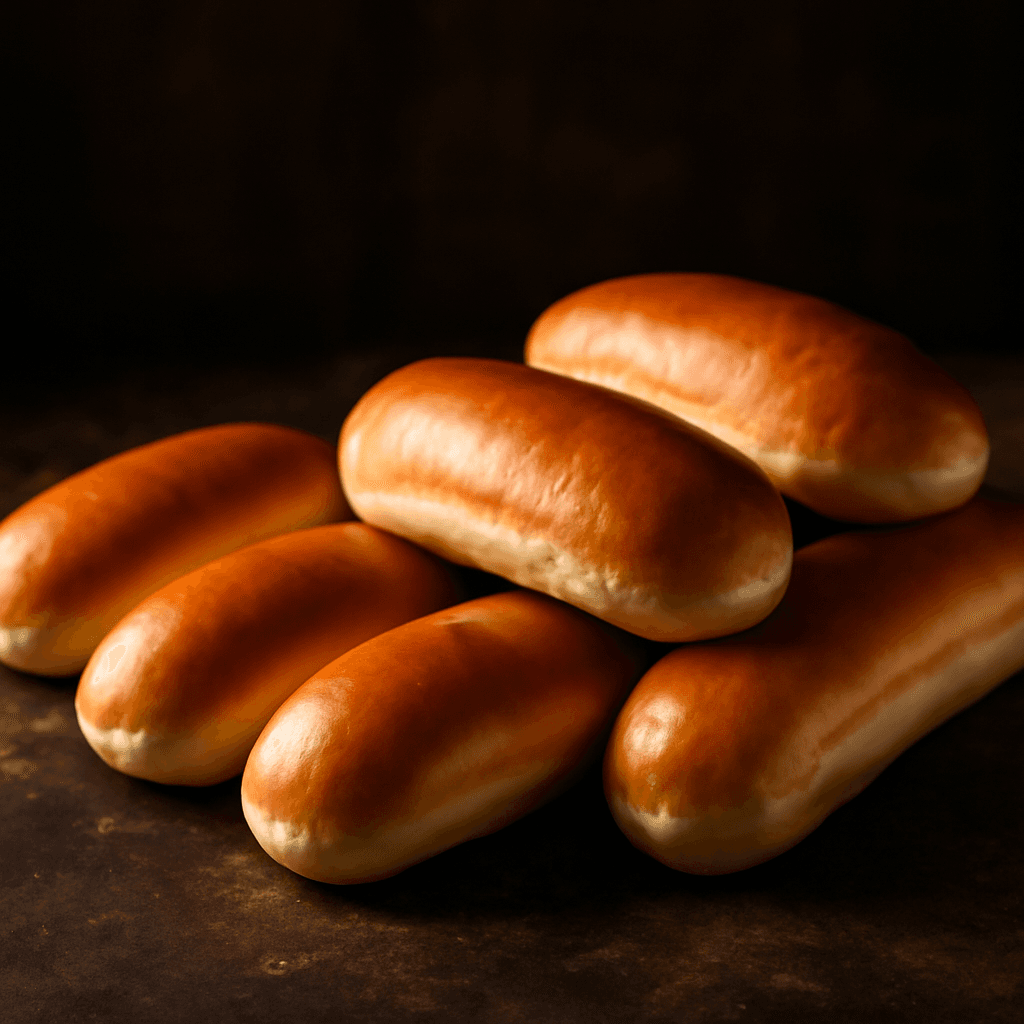
Homemade Hot Dog Buns - freshly baked bread

Homemade Hot Dog Buns

Dinner Rolls & Buns

Soft, split-top hot dog buns that hold up to any topping. Perfect for summer BBQs.

Prep Time

20 min

Proof Time

1h 10m

Bake Time

15 min

Servings

12

Calories

185

Ingredients

  • 2¾ cups all-purpose flour
  • 2¼ tsp instant yeast
  • ¾ cup warm milk
  • ¼ cup unsalted butter, melted
  • 2 tbsp sugar
  • 1 tsp salt
  • 1 large egg

Instructions

  1. 1

    Mix

    Combine flour, yeast, sugar, and salt. Add warm milk, melted butter, and egg.

  2. 2

    Knead

    Knead 6–8 minutes until smooth and elastic.

  3. 3

    First Rise

    Cover and rise 45 minutes until doubled.

  4. 4

    Shape

    Divide into equal pieces and shape as directed.

  5. 5

    Second Rise

    Cover and rise 20–25 minutes until puffy.

  6. 6

    Bake

    Brush with egg wash. Bake at 375°F (190°C) for 18–20 minutes until golden. Brush with butter.

Baker's Notes

The secret to incredibly soft dinner rolls is enrichment — butter, milk, and egg create a tender crumb that stays soft for days.

Baker Thomas Moreau

About This Recipe

There's something genuinely special about pulling a pan of homemade hot dog buns from the oven — the tops crack open just right, the crumb is soft and pillowy, and that buttery crust gives every bite a satisfying pull. These are the kind of buns that make summer cookouts feel like a proper celebration, and once you've tasted them, store-bought just won't cut it anymore.

What makes them so beloved around Canadian tables is how perfectly they balance richness with everyday practicality. A touch of milk and egg keeps them tender, the split-top style lets toppings shine, and the whole process takes less than two hours from start to finish.

Tips for the Best Homemade Hot Dog Buns

Le secret pour des pains parfaits réside dans le badigeonnage au beurre — couvrez-les encore chauds dès leur sortie du four, et vous obtiendrez la croûte la plus douce possible. Aussi, disposez les pains façonnés côte à côte dans le moule pour obtenir ce look fendu typique que les cuisinières canadiennes adorent.

What to Serve With It

These shine alongside classic Canadian barbecue fare — think pulled pork sliders, grilled sausages with mustard, and a bowl of creamy coleslaw. They're equally at home on a winter evening with a steaming pot of chili or a hearty bowl of soup. Don't forget the condiment station.

Storage & Reheating

Keep leftovers in an airtight container at room temperature for up to two days. For longer storage, wrap them tightly in plastic and freeze for up to three months. To reheat, wrap in foil and warm at 300°F (150°C) for about five minutes — they'll come out tasting freshly baked.
Nutrition Facts

185

cal

7g

Protein

4g

Fat

36g

Carbs

1g

Fiber

387mg

Sodium

Frequently Asked Questions

Can I use these buns for burgers instead?+

Absolutely. These buns work beautifully for burgers too. Just make them slightly larger and thicker when shaping, and they'll hold up to juicy patties and all the fixings without falling apart.

How do I know when the buns are done baking?+

Look for a deep golden brown colour and tap the bottom — it should sound hollow. An instant-read thermometer should register 190°F (88°C) in the centre for perfectly baked buns.

What happens if I skip the butter brushing?+

The buns will still taste fine, but you'll miss that signature soft crust. The butter brushed on right after baking seals in moisture and gives that irresistible sheen and tenderness that defines a great hot dog bun.

Can I prepare these ahead of time?+

Yes — shape the buns, cover them tightly, and refrigerate overnight. In the morning, let them come to room temperature and proof as usual. This actually improves the flavour development and gives a more complex taste.

Why are they called split-top buns?+

The name comes from the way they crack open along the top during baking, revealing a soft interior perfect for sliding in a sausage. Arranging the shaped logs touching each other in the pan encourages this signature split.

Tips & Tricks

  • Brush with butter immediately after baking for the softest crust.
  • These reheat beautifully wrapped in foil at 300°F for 5 minutes.
  • Freeze extras for up to 3 months — thaw and warm before serving.

Reviews (5)

Robert B.★★★★★

Five stars! The crust was perfectly crispy and the crumb was soft and airy. I'll never buy store-bought bread again.

Jennifer K.★★★★★

This is now our go-to bread recipe. The house smelled incredible while it was baking. My kids couldn't wait to tear into a warm slice.

André G.★★★★★

Just like from the bakery! The crust is crispy and the crumb is soft. Bravo for this extraordinary recipe.

Chantal D.★★★★★

Easy to prepare and so delicious! Even my picky kids went for seconds. This bread has become a staple in our home.

Pierre T.★★★★★

Excellent recipe. I followed the instructions to the letter and the result was perfect. My wife loved it. The best homemade bread I've made.