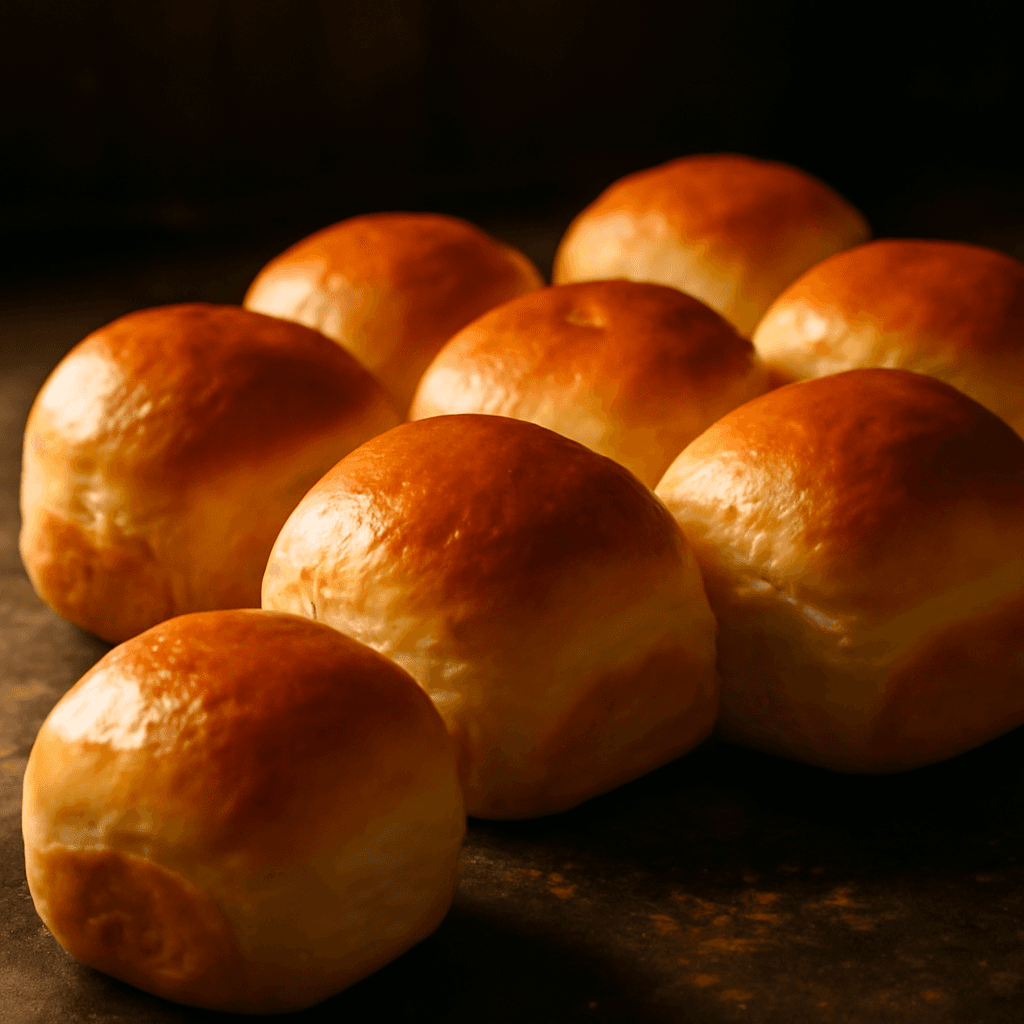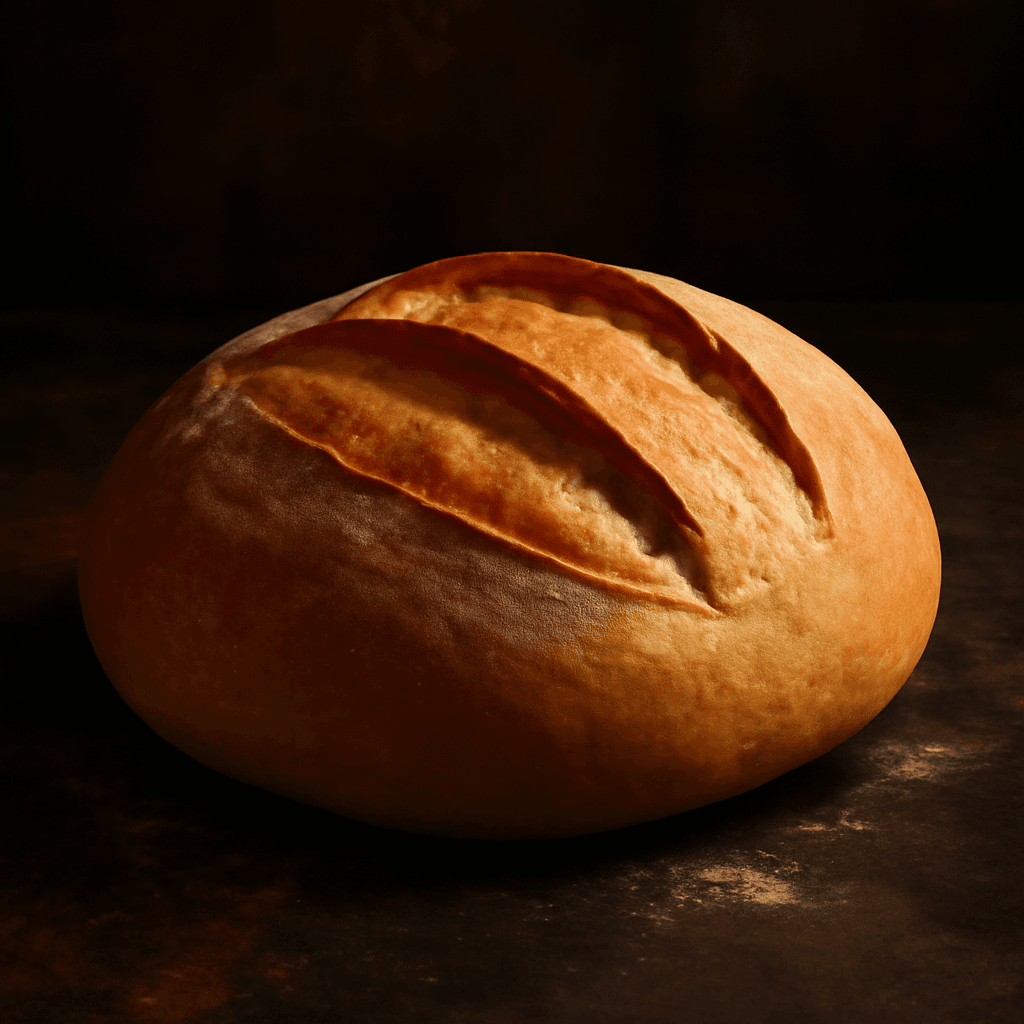
Basic Homemade Yeast Bread - freshly baked bread

Basic Homemade Yeast Bread

Yeast Bread

The essential yeast bread recipe that teaches you all the fundamentals — mixing, kneading, proofing, and baking. Master this and you can bake anything.

Prep Time

20 min

Proof Time

1h 30m

Bake Time

30 min

Servings

10

Calories

170

Ingredients

  • 3 cups bread flour
  • 2¼ tsp active dry yeast
  • 1 cup warm water (110°F/43°C)
  • 1 tbsp granulated sugar
  • 1 tbsp vegetable oil
  • 1 tsp salt

Instructions

  1. 1

    Proof the Yeast

    Stir sugar into warm water. Sprinkle yeast and wait 5–10 minutes until bubbly.

  2. 2

    Mix the Dough

    Add oil, salt, and flour. Stir until a shaggy dough forms.

  3. 3

    Knead

    Turn out onto a floured surface and knead 8–10 minutes until smooth and elastic.

  4. 4

    First Rise

    Place in an oiled bowl, cover, and let rise 60 minutes until doubled.

  5. 5

    Shape

    Punch down, shape into a loaf, and place in a greased pan.

  6. 6

    Second Rise

    Cover and rise 30 minutes until cresting above the pan.

  7. 7

    Bake

    Bake at 375°F (190°C) for 28–32 minutes. Cool on a rack.

Baker's Notes

The key to great yeast bread is patience. Don't rush the rise — the longer fermentation develops more complex flavours.

Baker Thomas Moreau

About This Recipe

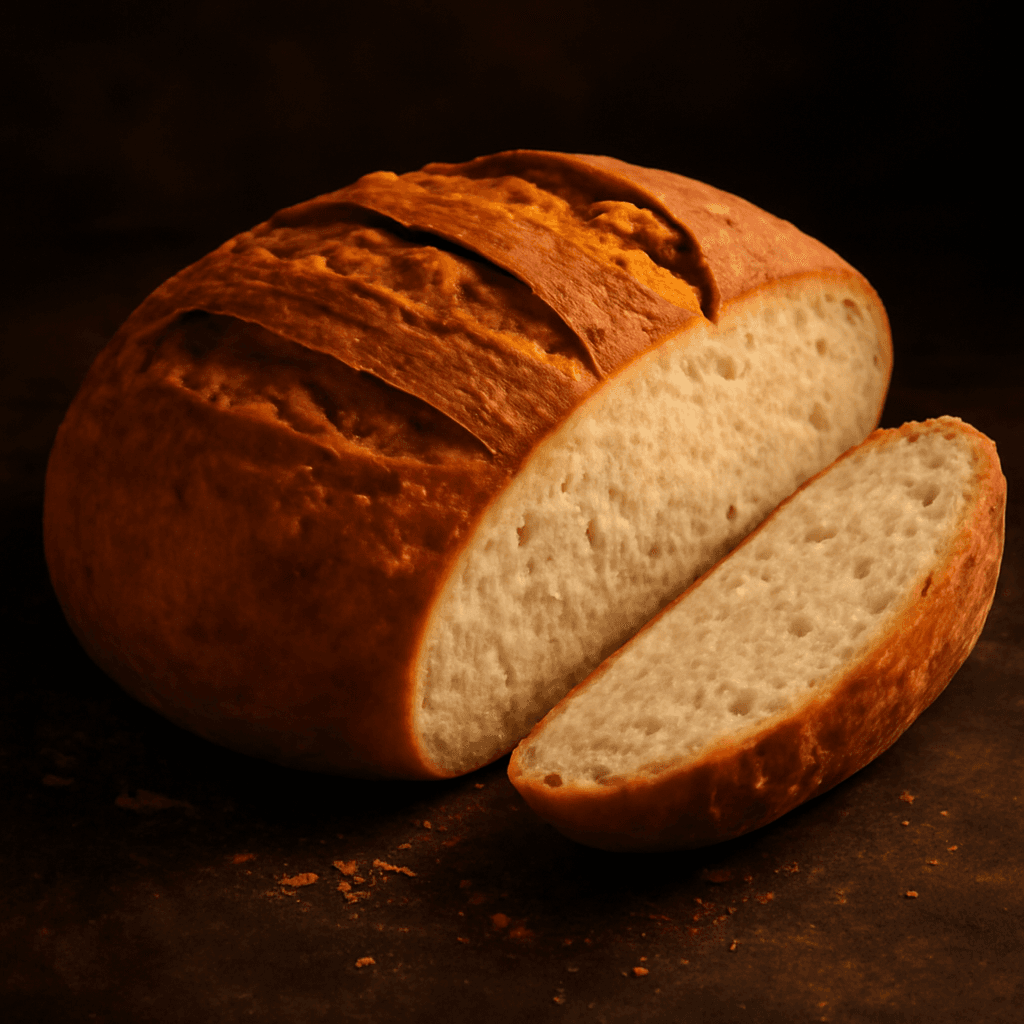
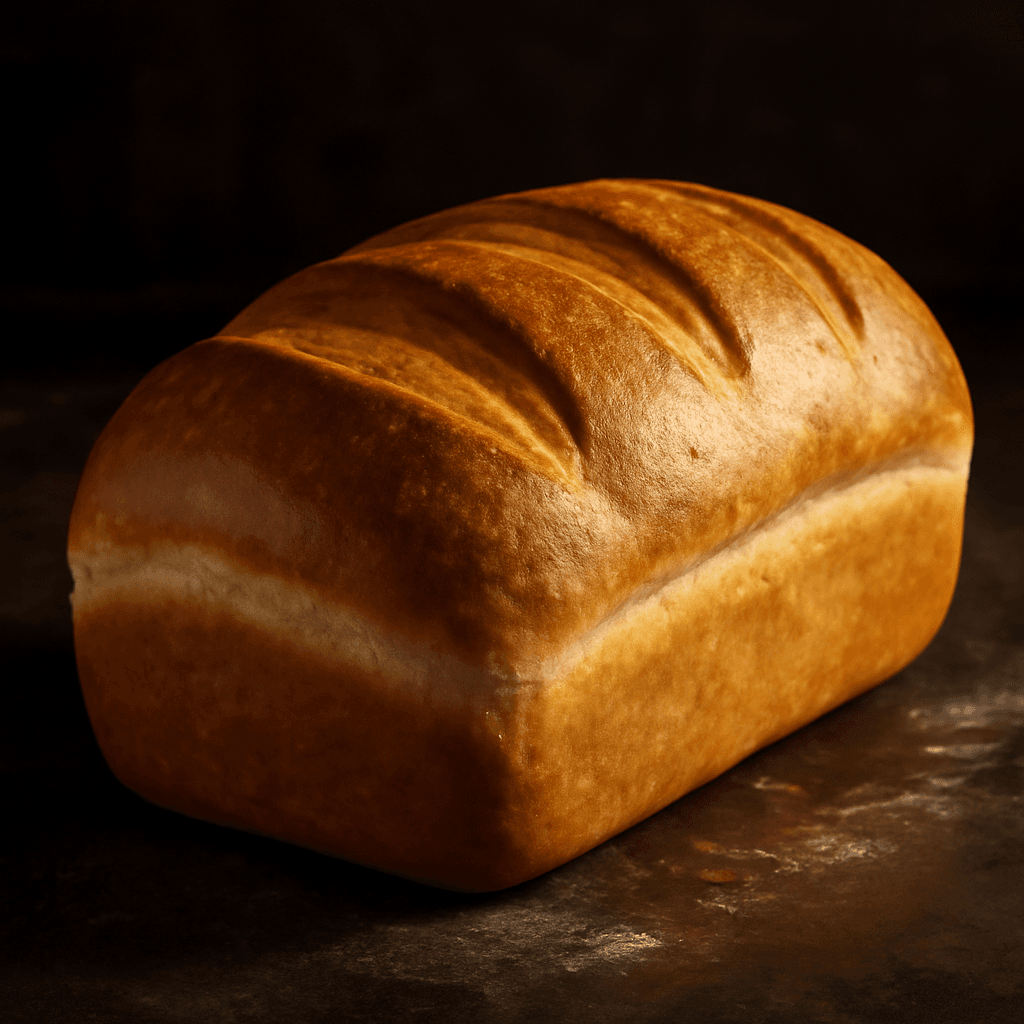
There's something almost magical about the moment you first pull a loaf of yeast bread from the oven — the crust crackling softly as it cools, the faint tang of fermentation mingling with warm wheat. This basic recipe is the one I return to every time I want to bake from scratch, and it's the foundation I teach in every beginner class. With just six humble ingredients — bread flour, active dry yeast, sugar, salt, oil, and warm water — you'll produce a loaf with a crisp golden crust that gives way to a tender, pillowy crumb. What makes this bread truly special isn't complexity; it's the discipline of getting the basics right. Once you've learned to read your dough — watching it swell during the first rise, feeling for that elastic resistance under your palms while kneading, judging doneness by the hollow thump when you tap the bottom — you'll find yourself reaching for yeast again and again. Canadian home cooks love it because it works reliably in our varied kitchens, whether you're baking in a frosty Edmonton apartment or a warm Vancouver condo, and it pairs effortlessly with everything from a simple pat of maple butter to a hearty bowl of soup on a crisp autumn evening.

Tips for the Best Basic Homemade Yeast Bread

When you're proofing the yeast, you're looking for a thick layer of bubbles forming across the surface — if nothing happens after ten minutes, start fresh with new yeast. During kneading, aim for eight to ten full minutes on the counter; the dough should feel slightly tacky but leave a clean sheet when you press your finger into it, not stick to your skin. If your kitchen runs cold, pop the covered bowl into the oven with just the light turned on — that gentle warmth does wonders for the yeast's work. And when it's time to bake, resist opening the oven door for the first twenty minutes; the crust won't set properly if the temperature drops mid-bake.

What to Serve With It

This bread shines best when sliced thick and served warm from the cooling rack — the crumb is still soft and yielding. I love it alongside a pot of Manitoba bison chili or a bowl of classic poutine, and on winter evenings it's perfect with a generous smear of cultured butter and a drizzle of local maple syrup. It also makes excellent toast the next morning, especially when brushed lightly with melted butter and toasted under the broiler. For a more refined presentation, serve wedges alongside a small bowl of herbed olive oil for dipping, or pair slices with smoked salmon and cream cheese for brunch.

Storage & Reheating

Once completely cooled, wrap this bread tightly in plastic wrap and store it at room temperature for up to three days — it stays fresh longer than sliced store-bought bread thanks to the oil in the dough. For longer storage, freeze individual slices or the whole loaf wrapped first in plastic and then in foil; it will keep for up to three months. To reheat, wrap a slice in foil and warm it in a 350°F oven for ten to fifteen minutes, or toast it directly for a crisper exterior. Avoid the microwave unless you're in a hurry, as it tends to make the crumb gummy rather than restoring that fresh-baked quality.
Nutrition Facts

170

cal

5g

Protein

4g

Fat

34g

Carbs

3g

Fiber

264mg

Sodium

Frequently Asked Questions

How do I know if my yeast is still good?+

Proof it first: dissolve a teaspoon of yeast in warm water with a pinch of sugar and wait five minutes. If you see a frothy bubble layer forming on top, the yeast is alive and ready to use. If the liquid looks flat and unremarkable, replace it — dead yeast means flat bread.

Why does my dough feel sticky even after kneading?+

A properly kneaded dough should feel slightly tacky but release cleanly from your hands. If it's sticking badly, add flour one tablespoon at a time and knead for another two minutes between additions. Over-kneading also makes dough tighter and stickier, so stop once you reach that smooth, elastic stage.

Can I use all-purpose flour instead of bread flour?+

Yes, though the loaf won't develop quite the same chewy crumb. Bread flour has higher protein content, which builds stronger gluten strands during kneading. If you substitute all-purpose flour, expect a softer, more tender loaf — perfectly fine for sandwiches or toast, just less substantial for tearing apart at the table.

My bread didn't rise in the second proof. What went wrong?+

This usually means the yeast lost its strength during the first rise, often due to overly warm water killing it early, or the dough was over-proofed and exhausted. Check your water temperature — it should be warm but never hot to the touch. You can also try reshaping gently and letting it rise once more in a warm spot before baking.

How do I get a nicely browned crust?+

Brush the shaped loaf with a little extra oil before baking, and make sure your oven is fully preheated to 375°F before sliding the pan inside. For an even darker crust, lower the rack to the middle position and bake toward the end of the recommended time. If you want extra colour, brush the baked loaf with a thin layer of melted butter right after removing it from the oven.

Tips & Tricks

  • If your kitchen is cool, let the dough rise in the oven with just the light on.
  • Test yeast freshness: if it doesn't foam within 10 minutes, the yeast is dead.
  • The dough should be slightly tacky but not sticky when properly kneaded.

Reviews (5)

Sarah M.★★★★★

So glad I found this recipe. The instructions are clear and the result is consistently great. I've made it four times already and it's perfect every time.

David C.★★★★★

Bakery-quality bread at home. I followed the recipe exactly and it turned out amazing. The proofing tips really helped.

Lisa P.★★★★★

Made this for a dinner party and everyone wanted the recipe. The bread was the star of the table — warm, crusty, and absolutely delicious.

Robert B.★★★★★

Five stars! The crust was perfectly crispy and the crumb was soft and airy. I'll never buy store-bought bread again.

Jennifer K.★★★★★

This is now our go-to bread recipe. The house smelled incredible while it was baking. My kids couldn't wait to tear into a warm slice.