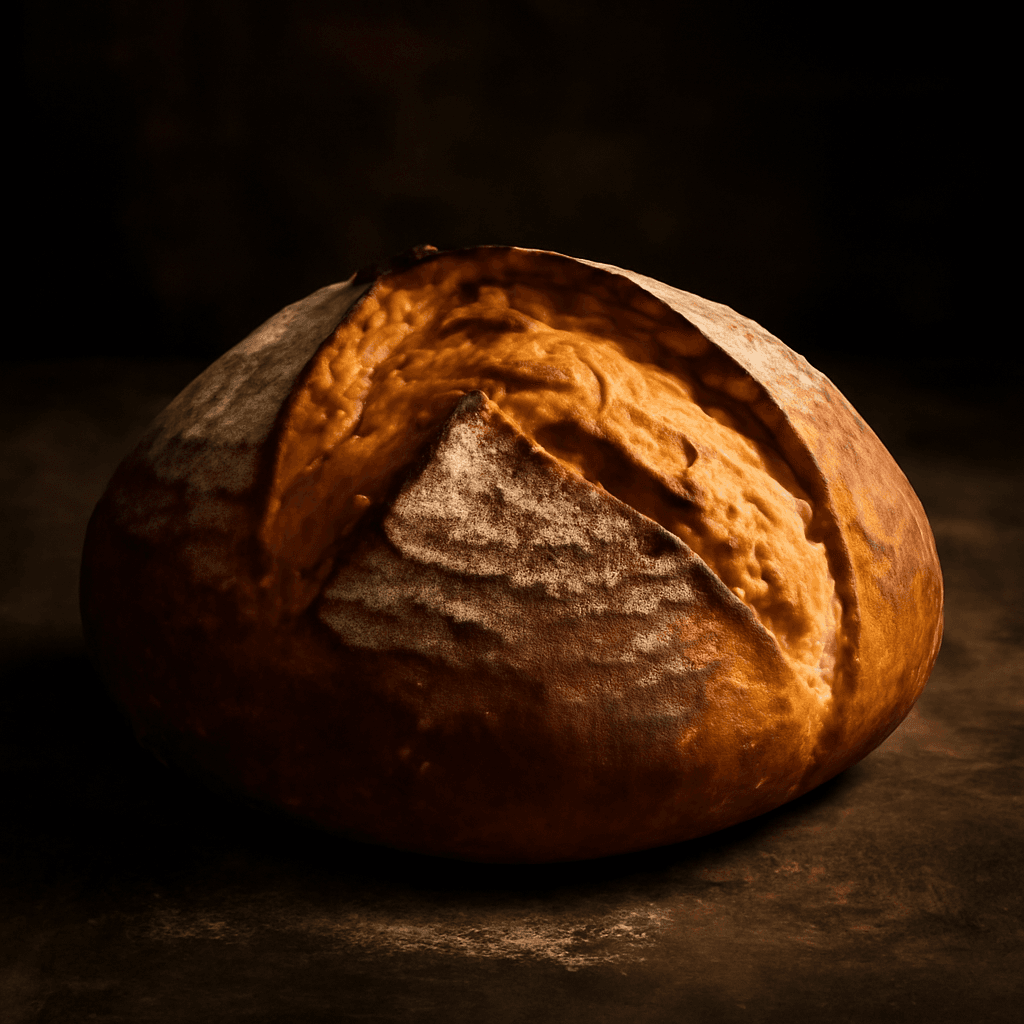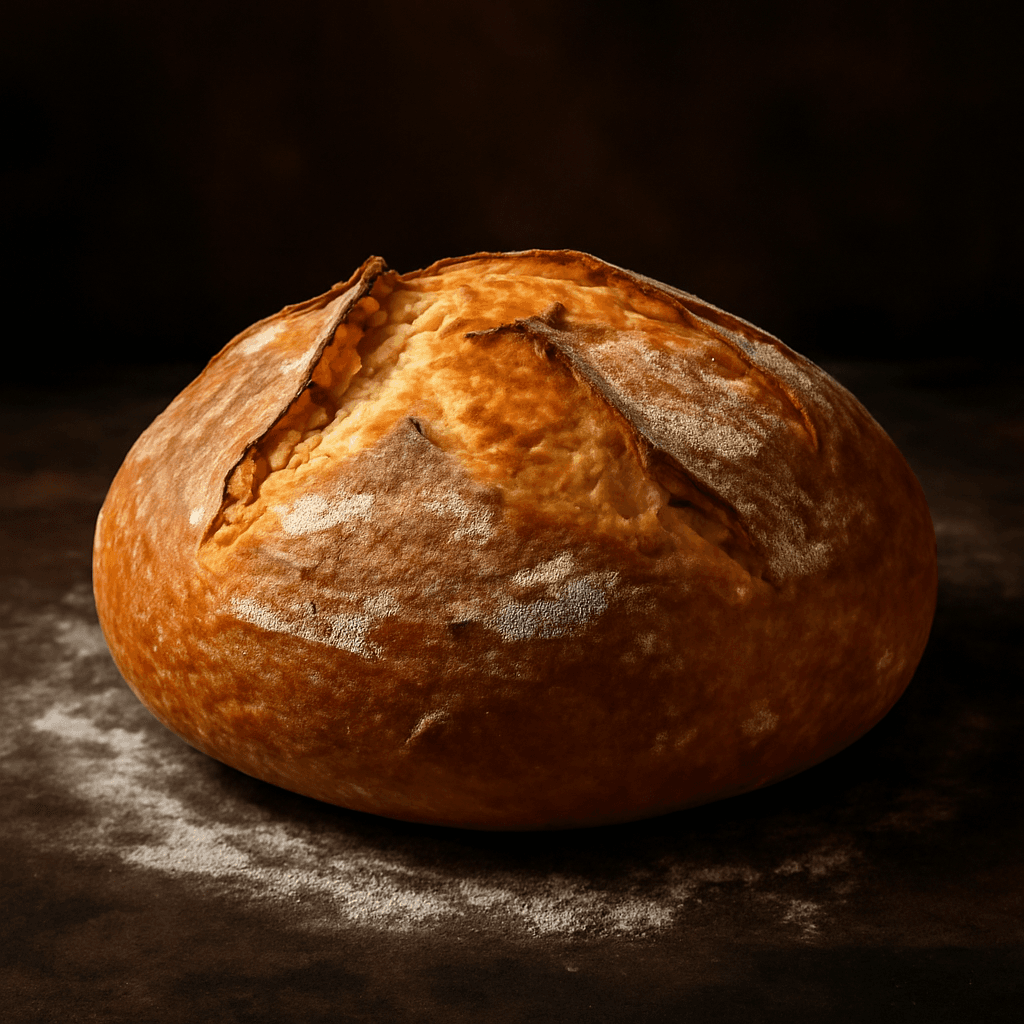
No-Knead Artisan Bread - freshly baked bread

No-Knead Artisan Bread

Artisan & Crusty Bread

The famous no-knead bread — mix 4 ingredients, wait overnight, and bake in a Dutch oven for bakery-quality results.

Prep Time

10 min

Proof Time

12h

Bake Time

45 min

Servings

10

Calories

175

Ingredients

  • 500 g bread flour
  • 350 g water
  • 1½ tsp instant yeast
  • 10 g salt

Instructions

  1. 1

    Mix

    Combine flour, yeast, and water. Rest 20 minutes (autolyse).

  2. 2

    Add Salt & Develop

    Sprinkle salt over dough and incorporate. Stretch-and-fold every 30 min for 2 hours.

  3. 3

    Bulk Ferment

    Let dough rest, covered, until doubled and bubbly.

  4. 4

    Shape

    Pre-shape, rest 15 minutes, then final shape.

  5. 5

    Proof

    Place in a floured banneton or on parchment. Proof 45–60 minutes.

  6. 6

    Score & Bake

    Score the top. Bake at 475°F (245°C) with steam until deeply golden.

Baker's Notes

Steam in the first 10 minutes of baking is the secret to a crackling, blistered artisan crust. A Dutch oven is the easiest way to trap steam at home.

Baker Thomas Moreau

About This Recipe

This no-knead bread has quietly transformed how Canadians approach home baking. You combine just four pantry staples—bread flour, water, a whisper of instant yeast, and salt—and let time do the heavy lifting. Overnight fermentation builds deep, complex flavour that would normally demand hours of kneading.

The payoff is worth the patience: a shatteringly crisp crust that gives way to a moist, open crumb with those beautiful irregular holes. Baked in a preheated Dutch oven, the steam trapped inside creates the signature crackling exterior that makes this bread impossible to resist straight from the oven.

Tips for the Best No-Knead Artisan Bread

Don't skip the autolyse—resting the flour and water for 20 minutes before adding the salt lets the gluten develop naturally. Stretch and fold gently during the two-hour window rather than kneading aggressively. A hot Dutch oven with a tight lid is non-negotiable for that signature crust.

What to Serve With It

Slice it warm and serve alongside a bowl of homemade tomato soup or a hearty beef and barley stew—classic Canadian comfort food. It pairs beautifully with smoked salmon and cream cheese for brunch, or simply slathered with salted butter and a drizzle of local honey. The crust holds up magnificently to dipping in olive oil.

Storage & Reheating

Store cooled bread in a paper bag at room temperature for up to three days—the paper preserves the crust better than plastic, which turns it gummy. For longer keeping, slice and freeze in airtight bags, then toast directly from frozen at 350°F (175°C) for 10 minutes. Reheat a whole loaf at 400°F (200°C) for 10 minutes to revive the crust.
Nutrition Facts

175

cal

5g

Protein

2g

Fat

40g

Carbs

2g

Fiber

217mg

Sodium

Frequently Asked Questions

Can I use all-purpose flour instead of bread flour?+

Yes, though the bread will be slightly less chewy. Bread flour's higher protein content helps develop that signature open crumb structure, but AP flour works fine in a pinch.

How do I know when the dough has proofed enough?+

The dough should nearly double in size, look puffy and bubbly on the surface, and jiggle softly when you shake the bowl. Over-proofed dough collapses easily under your finger.

Do I really need a Dutch oven?+

A Dutch oven or any heavy lidded pot is essential for trapping steam during the first phase of baking. Without it, you won't get that signature crackling crust. A baking stone with a pan of water works too.

Why does my bread taste flat despite the long fermentation?+

Check your yeast freshness and ensure your kitchen isn't too cold—fermentation slows dramatically below 65°F (18°C). Also verify you're using the full 10 grams of salt, which is crucial for flavour development.

Can I add mix-ins like olives or herbs?+

Absolutely. Fold them in during the last stretch-and-fold cycle so they distribute evenly. Add about half a cup of chopped ingredients, and reduce the salt slightly if using salty additions like olives.

Tips & Tricks

  • Steam in the first 10 minutes of baking creates a signature crackling crust.
  • Use a lamé (razor blade) for sharp, clean scores on the dough.
  • Don't rush fermentation — time develops flavour and structure.

Reviews (5)

Robert B.★★★★★

Five stars! The crust was perfectly crispy and the crumb was soft and airy. I'll never buy store-bought bread again.

Jennifer K.★★★★★

This is now our go-to bread recipe. The house smelled incredible while it was baking. My kids couldn't wait to tear into a warm slice.

André G.★★★★★

Just like from the bakery! The crust is crispy and the crumb is soft. Bravo for this extraordinary recipe.

Chantal D.★★★★★

Easy to prepare and so delicious! Even my picky kids went for seconds. This bread has become a staple in our home.

Pierre T.★★★★★

Excellent recipe. I followed the instructions to the letter and the result was perfect. My wife loved it. The best homemade bread I've made.